Refinishing Stairs the Right Way: Grip, Safety & Style
If you’ve ever tiptoed down a freshly varnished staircase and felt your heart in your mouth, you already know the truth: the most dangerous step is the one that looks perfect but grips like Teflon. Refinishing Stairs isn’t just about making timber gleam; it’s about shaping the nosing profile so every footfall feels secure. Do this well and you’ll not only prevent slips—you’ll sell the feeling of safety, comfort, and quiet pride every time someone takes the stairs.
Before we dive in, two practical notes:
- Prefer a pro? Call us on 0800 955 0015 and speak to the team at Sanding Wood Floors.
- If your staircase is part of a bigger project, start here: dust-free floor sanding, wood floor renovation and repair, or wooden floor finishing. It all connects.

Why “Refinishing Stairs” Starts at the Nosing (Not the Varnish)
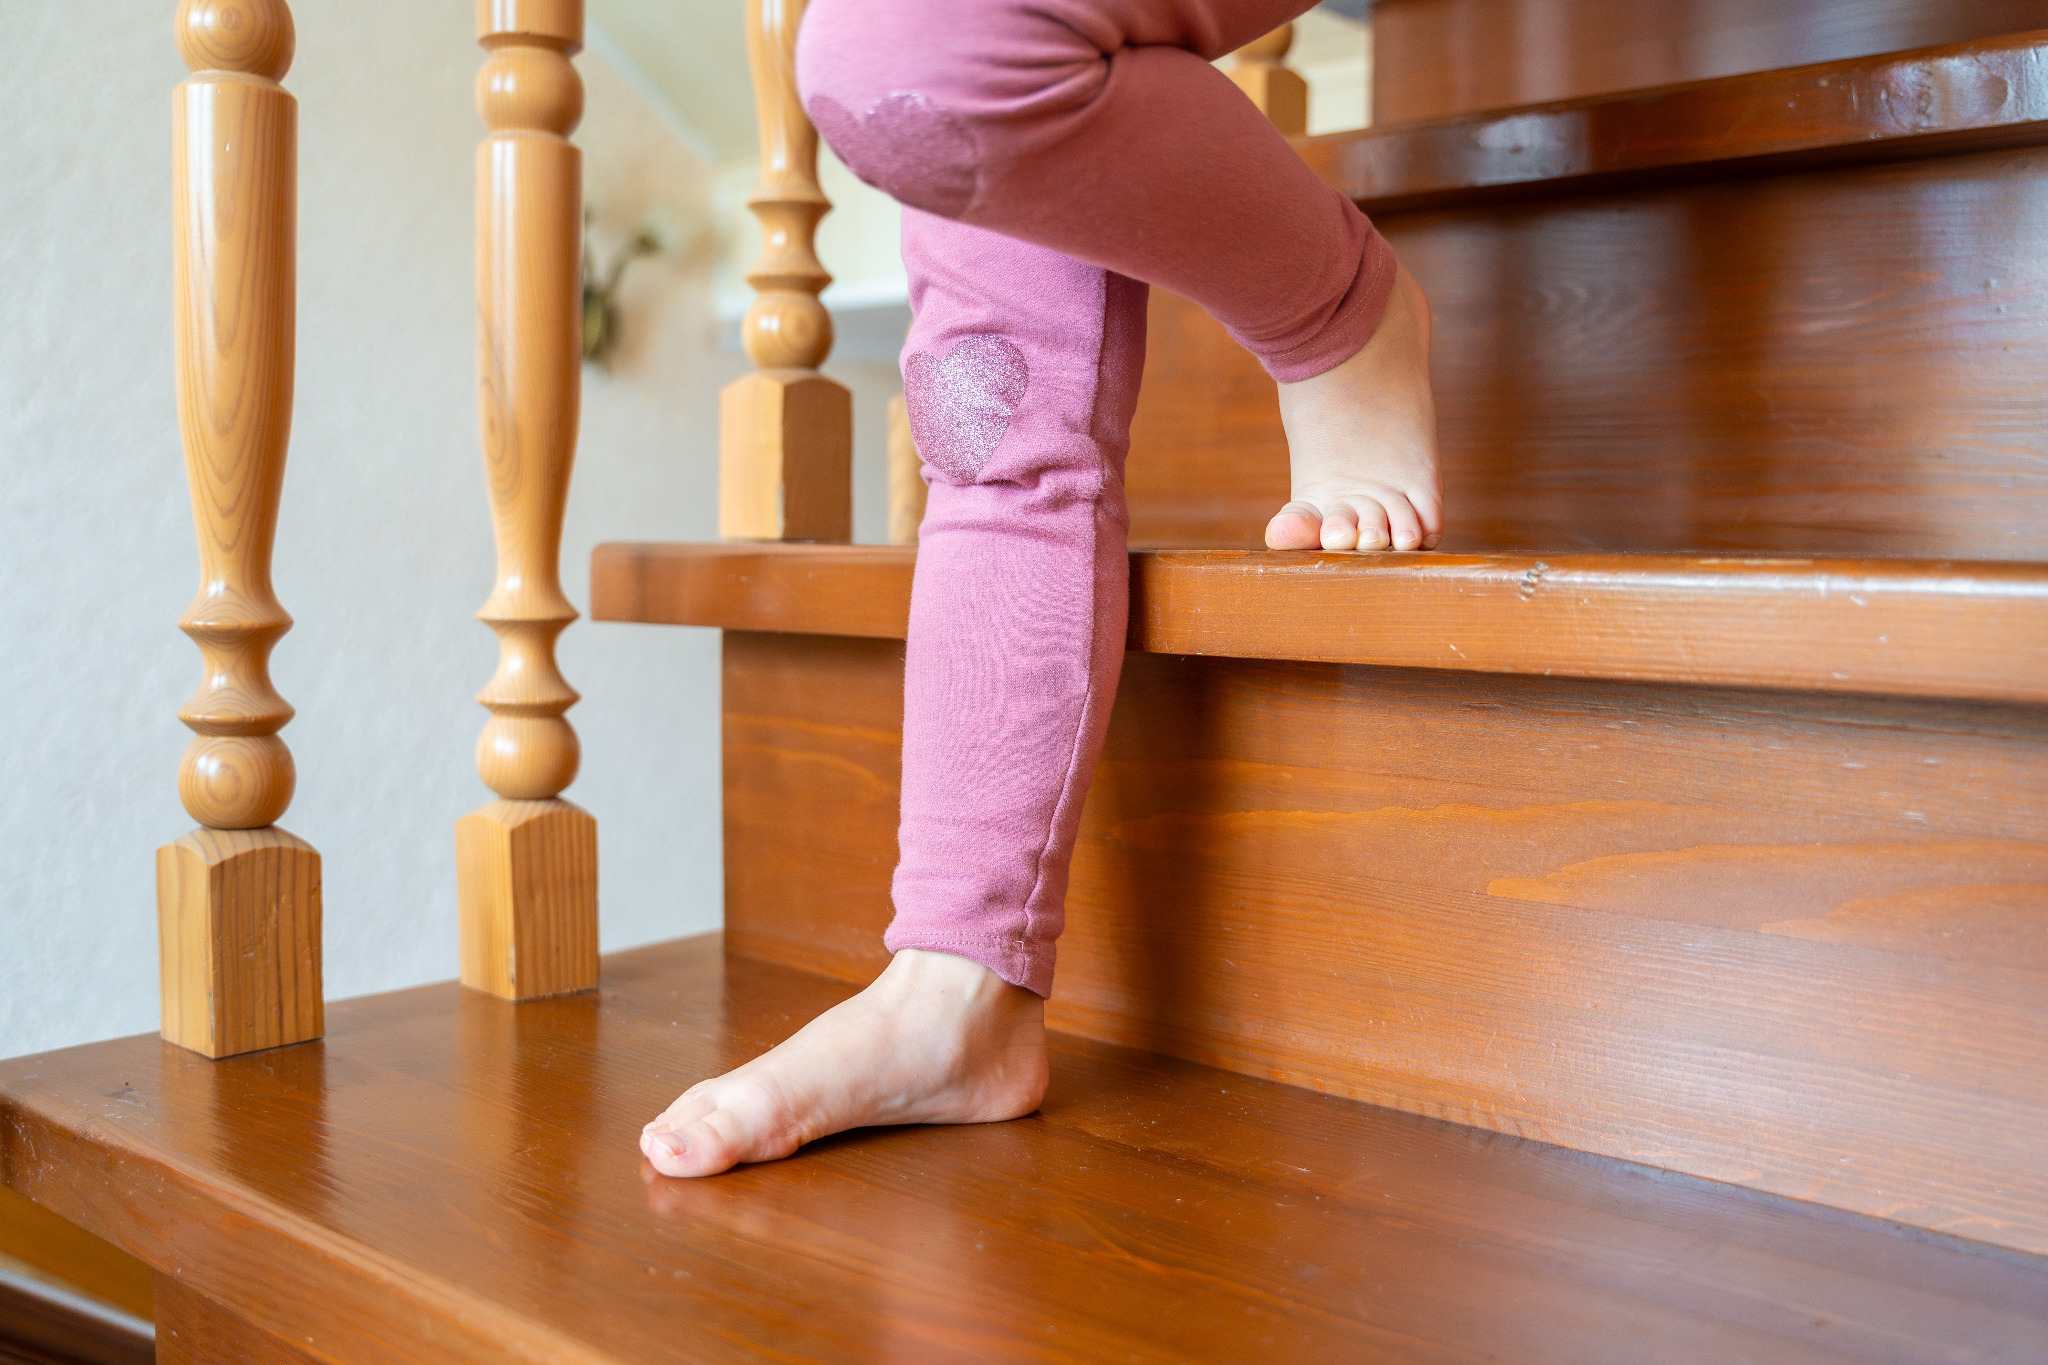
You can polish, stain and wax until your arm falls off, but if the stair nosing is wrong, you’ll end up with a staircase that looks expensive and behaves like a banana peel. The nosing—the front edge of each tread—is where the foot lands, pivots and pushes away. Get the nosing profile right and you reduce slips, avoid scuffed risers, and make every step feel kinder underfoot.
If you’re comparing options or planning a full overhaul, our stair stripping & sanding service is the clean answer to years of paint, drips and questionable DIY. Pair that with stair banister restoration and suddenly the whole staircase reads like a single, beautiful sentence.
Direct-response truth: People don’t buy “timber protection”; they buy the confidence of a safe descent in socked feet at 6am. Good nosing profiles sell safety first, beauty second—and price barely enters the conversation.
The Big Five: Nosing Profiles That Really Cut Slips
1) Classic Bullnose (Rounded Nosing)
The bullnose is the gentleman’s handshake of stair profiles: smooth, friendly, forgiving. That rounded edge subtly increases the landing area for the ball of the foot. When you’re refinishing stairs, a bullnose combined with a fine, matt, anti-slip finish is a quiet miracle—especially in busy homes and small hotels.
Pair with: floor finishes & seals and wood floor maintenance and care for long-term grip retention.
2) Square-Edge with Micro-Chamfer
Modernists love it; liability insurers tolerate it if you do it right. The sharp front reads crisp but can be harsh on toes and more vulnerable to chipping. A micro-chamfer (a tiny bevel) softens the edge, reduces splintering, and gives a cleaner transition for the foot.
Insider tip: Match it with satin rather than high gloss; your grip (and photography) will thank you.
3) Overhang with Anti-Slip Insert
For family homes and commercial entrances, adding a fine anti-slip strip or inlay within the nosing gives the eye a target and the foot a friend. Choose metal or rubberised inserts that sit flush, so you keep elegance without creating a toe-stubber.
Commercial? Look at commercial floor sanding and commercial wood floor care for a whole-site plan.
4) Waterfall Nosing (Continuous Curve)
Minimal and graceful, the waterfall rolls from tread into riser with no step in the step, if you’ll forgive the phrase. It discourages the bad habit of “toe catching” the edge and works beautifully with parquet floor sanding when your staircase complements a patterned hall.
5) Rebated Nosing for Overlay Systems
In older properties—where treads are worn, uneven, or a historical restoration is underway—a rebated nosing can accommodate overlay boards without growing the tread depth beyond reason. This is the smart way to add new life without a complete rebuild. See old parquet flooring restoration and floor restoration & gap filling for bigger period projects.
Materials & Finishes: What Helps, What Hinders
Timber Choices for Stair Nosings
- Oak: Britain’s default hero. Strong, stable, takes stain well. If you’re refinishing stairs, oak nosings are the high-value workhorse.
- Maple: Hard, pale, and gloriously clean-lined; ideal with Scandinavian interiors. Consider maple wood sanding & finishing for continuity across floors and stairs.
- Walnut: Luxurious, darker tone; benefits from a matt finish to prevent optical “sheen slip”.
- Softwoods: Charming in cottages; just remember that dent resistance is lower.
- Laminate or engineered overlay: If you’re matching an installed product, laminate flooring installation can be paired with compatible nosings.
Inlays & Edge Treatments
- Metal (brass, aluminium, stainless): Durable and precise. Micro-ribbed textures add confidence without shouting “industrial.”
- Rubber/Vinyl inserts: Cost-effective anti-slip where children or elderly relatives are priority.
- Colour contrast: A subtle tonal contrast between tread and nosing makes each step “readable”—clever safety you notice with your peripheral vision.
Finish Sheens (and Why Gloss Is a Menace)
- Matt & Extra Matt: The sweet spot for grip and honesty.
- Satin: Acceptable compromise—still handsome, not show-off slippery.
- Gloss: Lovely for a billiard cue, not for a staircase.
For the best outcomes, we pair the right nosing profile with the right finish from the outset. Explore wooden floor finishing and varnish treatment when your stairs join onto a larger landing or hallway project.

The Silent Culprits Behind Slippery Stairs (And How to Fix Them)
- Over-sanding the nosing
Nice to the eye, nasty to the foot. Over-polished edges reduce microfiber “tooth”. Our dust-free floor sanding system controls cut depth and keeps edges true. - Wrong sealant, wrong place
Some finishes are bulletproof on a lounge floor and treacherous on a stair. We select formulas with proven slip ratings—then test the feel under socks, shoes, and bare feet. If you want the belt and braces approach, ask about anti-slip additives blended into the top coat via floor finishes & seals. - Ignoring gaps and nosing transitions
Tiny voids near the nosing invite splintering and snags. We use gap filling with resin or gap filling with strips to stabilise edges before the final finish. - Loose or creaky treads
Movement equals micro-polishing. Every creak is wood abrading wood. Book wood floor repairs or targeted wood floor scratch repairs before you even whisper “topcoat”. - Echoing stairwells and “hollow” sound
Hard surfaces amplify caution. People tread differently on noisy stairs. If your property demands hush (home office, hotel corridor, school), consider wood floor soundproofing or floor insulation & sound proofing.
Refinishing Stairs: A Practical Walkthrough (From First Step to Last)
Step 1: Assessment
We look for wear patterns, edge damage, prior coatings, and nosing geometry. If handrails and spindles are mismatched or dowdy, banister restoration upgrades the whole story.
Step 2: Preparation & Protection
Hallways, walls, and skirtings are masked. Dust extraction is set. Pets and people get a safe route. If hearthstones or old inserts get in your way, book hearth removal to clean the run.
Step 3: Stripping & Sanding
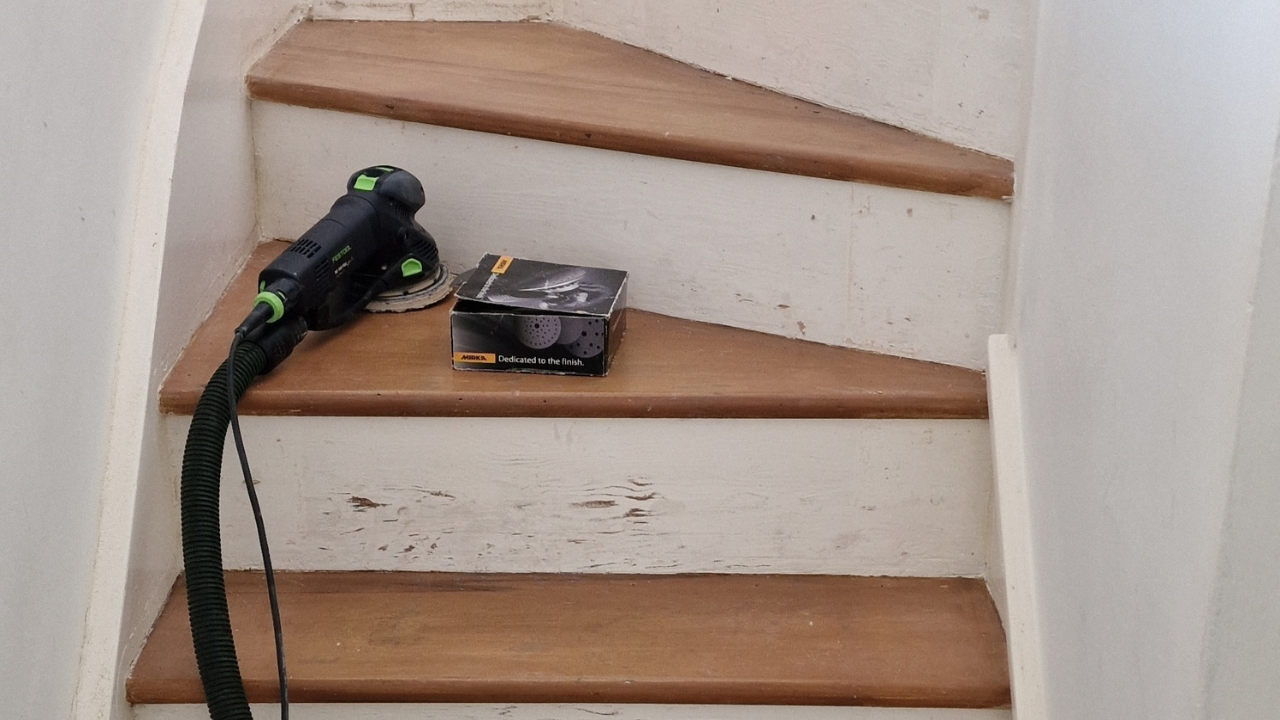
Old finishes come off; edges are trued; nosings are shaped—not thinned. This is where “saving slips” is engineered. Our stair stripping & sanding kit is built for nooks and risers.
Step 4: Repairs & Gap Filling
We stabilise, glue, pin, and fill as needed with either resin or strips. Loose nosings get fixed now, not after the final coat.
Step 5: Finishing & Anti-Slip Strategy
Choice of matt or satin; anti-slip additive if needed; colour matched nosing insert where appropriate. All laid down to a system—no guesswork.
Step 6: Cure, Buff, Maintain
We finish by educating you (gently). The difference between a staircase that looks superb for two years and ten is maintenance and care done little and often.

Where Stair Safety Meets Style
Let’s be candid. You’re reading this because you want both: safer stairs and a finish that makes you smile every day. You also want to feel you’re paying for mastery, not mess. That’s why Refinishing Stairs with a laser focus on nosing profiles is such a high-return investment. It’s the same logic we apply to a full wood floor sand & seal or a heritage hardwood floor sanding job: shape leads function; function justifies beauty.
Safety You Can Feel: Small Details, Big Payoff
- Visual Guidance: A tonal shift at the nosing makes each step “read” faster to the brain.
- Texture Where It Matters: A slightly higher micro-texture at the nosing, not across the whole tread, keeps cleaning simple.
- Consistent Rise/Going: Refinishing is the ideal time to correct small inconsistencies that trip people up.
- Edge Integrity: A crisp micro-chamfer removes the splinter risk without sacrificing that “tailored suit” look.
If your stairs connect to a parquet hall, explore parquet floor sanding. If they drop into a classroom block, school floor maintenance covers the whole timetable.
The Behavioural Bit
Humans are funny. We say we want shine, then complain we slipped. We say we love dark walnut, then tiptoe because we can’t see the edge. What people truly buy is confidence: “My children can race down to breakfast and I won’t shout ‘hold the rail!’”
So when you’re refinishing stairs, sell (to yourself, your partner, your facilities manager) the experience—the micro-confidence of every footfall—then choose the nosing profile and finish that underwrite it.
Common Stair Nosing Mistakes (And How We Avoid Them)
- High-gloss vanity on edges
- Fix: Switch to matt/satin with anti-slip micro-texture.
- Unsealed end grain at the nosing
- Fix: Seal thoroughly; end grain drinks finish like a sailor.
- Mismatched inserts
- Fix: Colour-coordinate. Let safety be elegant.
- Skipping repairs because “the finish will bridge it”
- Fix: It won’t. Do wood floor repairs first.
- No maintenance plan
- Fix: Schedule maintenance & care—it’s cheaper than remorse.
When Stairs Meet the Rest of the House
Refinishing a staircase isn’t a single-room decision. It touches landings, hallways, and often the sitting room. That’s why we frequently combine Refinishing Stairs with:
- Wooden floor sanding and polishing (for continuity of sheen and colour)
- Wood floor renovation and repair (for structural confidence)
- Floor restoration & gap filling (for draught and noise control)
- Floor insulation & sound proofing (for quieter steps, warmer rooms)
If you have heritage parquet or maple sports floors feeding into your stairwell, match the story with old parquet restoration or maple sanding & finishing so the whole home reads as one.
A Simple Test for a Safer Stair (Do This Today)
- Put on your slippiest socks.
- Walk your stairs at normal speed, eyes up, one hand free.
- Notice: where do you hesitate? That’s your nosing telling you a story.
- Now do it in dim light. If you slow down, the visual contrast isn’t doing its job.
- Final check: run a fingertip along the nosing edge. Too sharp or too polished? Time to rethink.
Then, get quotes. And if you like your calls answered by humans who care, ring 0800 955 0015 and ask for Sanding Wood Floors.
Frequently Asked Questions About Refinishing Stairs & Nosing Profiles
Is “Refinishing Stairs” the same as replacing them?
No. Refinishing preserves your existing structure—stripping, sanding, repairing, and re-sealing—while engineering the nosing for better grip. Replacement is slower, messier, and far more expensive. Start with stair stripping & sanding first; you’ll be surprised what’s possible.
Which nosing profile is safest?
For most homes, a rounded bullnose with a matt finish is hard to beat. For commercial sites, add a discreet anti-slip insert. Either way, consistency across every step matters more than fashion.
Will anti-slip inserts look industrial?
Not if we do them. We specify low-profile, colour-matched strips that read as a tasteful detail, not a hazard stripe. Ask during your wooden floor finishing consultation.
Won’t matt finishes mark more?
Quality matt finishes resist scuffs very well, especially with a sensible cleaning routine and the right pads on furniture. For stairs, matt is the grown-up choice: less glare, more grip.
Can you match my hallway floor?
Yes. We handle the whole picture—wood floor sand & seal, parquet sanding, hardwood floor sanding—so colour, sheen and texture stay consistent.
We’ve got squeaks. Fixable?
Usually, yes. Most squeaks are movement issues we can address during wood floor repairs and nosing stabilisation.
What about schools and busy corridors?
You need predictability and endurance. That means robust finishes, scheduled school floor maintenance, and clear nosing contrast. We create a plan that looks good after term one and term ten.
Case-Style Scenarios (Because Real Life Isn’t a Brochure)
The Family Home:
Two kids, one dog, one athletic staircase. We installed rounded bullnose nosings with a matt finish, added a tone-matched micro-insert, and sealed with a durable topcoat. The result? Mum walks downstairs with a coffee instead of a prayer.
The Boutique Hotel:
Four flights, dim evening lighting. We refined the nosing profile, integrated a slim brass insert along the leading edge for visual contrast, and set a satin finish for richer colour without glare. Night-time falls became a non-issue; reviews began to mention “quiet, confident stairs.” Booked through commercial wood floor care.
The Period Terrace:
Patchy treads, gappy landings, draughts galore. We stabilised with gap filling with strips, rebuilt two nosings, and finished in extra-matt to let the grain sing. Heating bills down, creaks tamed, pride restored.

Maintenance That Doesn’t Drive You Mad
- Routine: Dry dusting plus a gentle wood-floor cleaner on a slightly damp microfibre.
- Never: Steam mops (warps, lifts, and swears).
- Seasonal: Quick inspection of nosing edges for knocks or finish wear; a light buff and top-up coat keeps grip alive.
- Annual: Professional maintenance & care visit—cheap insurance.
- If damaged: Don’t panic; wood floor scratch repairs are fast and discreet.
As Drayton might say: “Maintenance is like flossing—nobody wakes up excited to do it, but you notice very quickly when you don’t.”
Put It All Together: Your 10-Point Stair Safety & Beauty Checklist
- Choose a nosing profile (bullnose or micro-chamfered square are the front-runners).
- Pick a matt or satin finish with known slip performance.
- Add a discreet anti-slip insert if children, elderly relatives, or public footfall are factors.
- Fix movement before finishing: treads, risers, and nosings must be solid.
- Fill gaps near edges to prevent splinters.
- Consider tonal contrast at the nosing for “readability”.
- Match the staircase with adjacent floors for a continuous look.
- Budget for maintenance, not a miracle—grip needs a little care.
- If in doubt, test the feel in socks on a sample board.
- Hire specialists who do Refinishing Stairs weekly, not once a blue moon.
Ready to Move Safely and Stylishly?
If you’ve read this far, you’re clearly serious about doing it right. Let’s turn intention into results:
- Call now: 0800 955 0015
- Visit: Sanding Wood Floors
- Popular services to bundle with Refinishing Stairs:
Final Word:
Search engines reward clarity, depth, and usefulness. Homeowners reward craftsmanship that keeps their families upright. The intersection is simple: Refinishing Stairs with a nosing profile that saves slips—supported by the right finish, consistent edges, and a maintenance plan—gives you both rankings and real-world results. You’ll have stairs people trust, floors that feel coherent from top to bottom, and a property that signals care with every step.
When you’re ready to stop sliding and start gliding, pick up the phone.
0800 955 0015 | Sanding Wood Floors