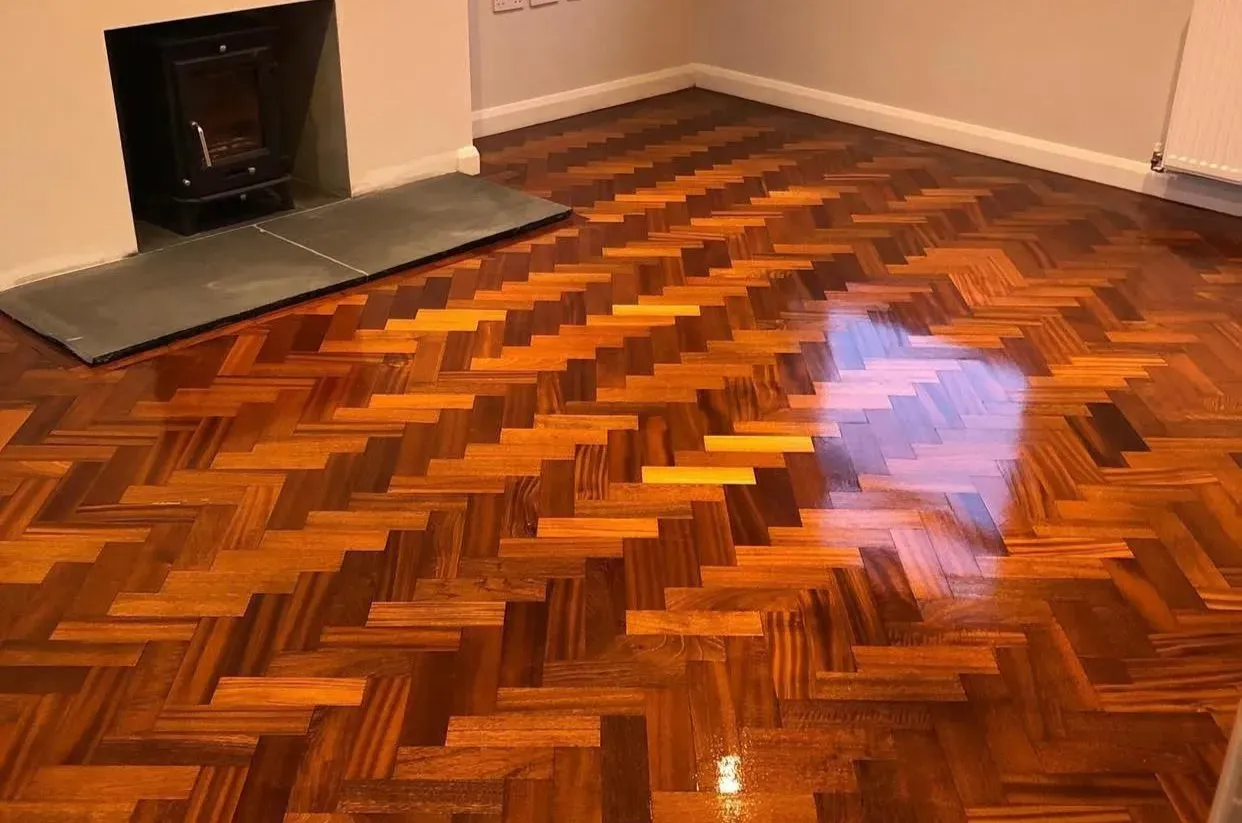
Parquet Repairs for Heritage Floors: Keep the Character
If your parquet floor looks a little tired—gaps here, loose blocks there, a patch that’s the wrong shade by a mile—don’t sigh and price up new flooring just yet. Done properly, Parquet Repairs can make an old floor look not just “good as new” but better than new—because it keeps the character that new floors try to imitate. And when you match old blocks like a pro, you don’t merely fix a floor; you restore the room’s poise.
If you’d like expert help right now, call 0800 955 0015. Or visit Sanding Wood Floors—the UK specialists in parquet and heritage wood flooring—where you’ll also find these services often used alongside parquet repairs:
- Parquet floor sanding
- Wood floor renovation and repair
- Wood floor scratch repairs
- Wooden floor finishing
- Dust-free floor sanding
- Old parquet flooring restoration

Why “repair” beats “replace” (and wins twice)
Replacement is what you do when you’ve run out of imagination. Repair—smart, careful, sympathetic repair—costs less, preserves value, and ends with people asking, “Where did you find such a beautiful original floor?” That’s the real magic of Parquet Repairs: you spend less and end up with more—more authenticity, more resale charm, more warmth underfoot.
Quick wins you can get from professional Parquet Repairs:
- Loose, drummy blocks re-bonded for a reassuringly solid feel.
- Broken or missing fingers replaced like-for-like (no Frankenstein patches).
- Gaps filled neatly—either gap filling with strips for larger voids or gap filling with resin for hairline seams.
- Colour blended to patina—then sealed with the right floor finishes & seals.
- Edges, thresholds and even hearth removal handled so the pattern flows without awkward stutters.
CTA: Want this level of care? Tap to call 0800 955 0015 or book via Sanding Wood Floors.
What Makes a Great Parquet Repair
A great repair is one you can’t see. That sounds obvious—but it’s rare. Why? Because most poor repairs yell three things at once:
- Wrong size block. Old parquet can be 9×3 inches, 230×70 mm, or a dozen oddities in between. Mix them up and your pattern “chatters.”
- Wrong species or grade. Replacing oak with meranti or the wrong cut looks like you’ve swapped a tweed lapel for nylon.
- Wrong finish. A fresh patch with shiny polyurethane in a sea of mellow wax? Like a new tooth that’s two shades too bright.
Professional Parquet Repairs fix all three. They begin with measurement and species ID, then test finishes to blend colour and sheen. They also respect the original laying pattern—herringbone, basketweave, chevron, brick-bond—and the direction of light in the room. If you think that’s fussy, you’re right. That’s why it works.
Related services that complete the disguise:
- Wood floor repairs for structural issues.
- Wood floor sand & seal for a uniform final look.
- Wooden floor finishing to tune colour and sheen.

Diagnosing Problems Before You Lift a Single Block
The three culprits behind loose parquet
- Adhesive failure. Old bitumen dries out and lets go; PVA “fixes” don’t last.
- Moisture movement. Leaky appliances, rising damp, poor ventilation.
- Subfloor issues. Dusty screeds, hollow spots, or flexible boards beneath.
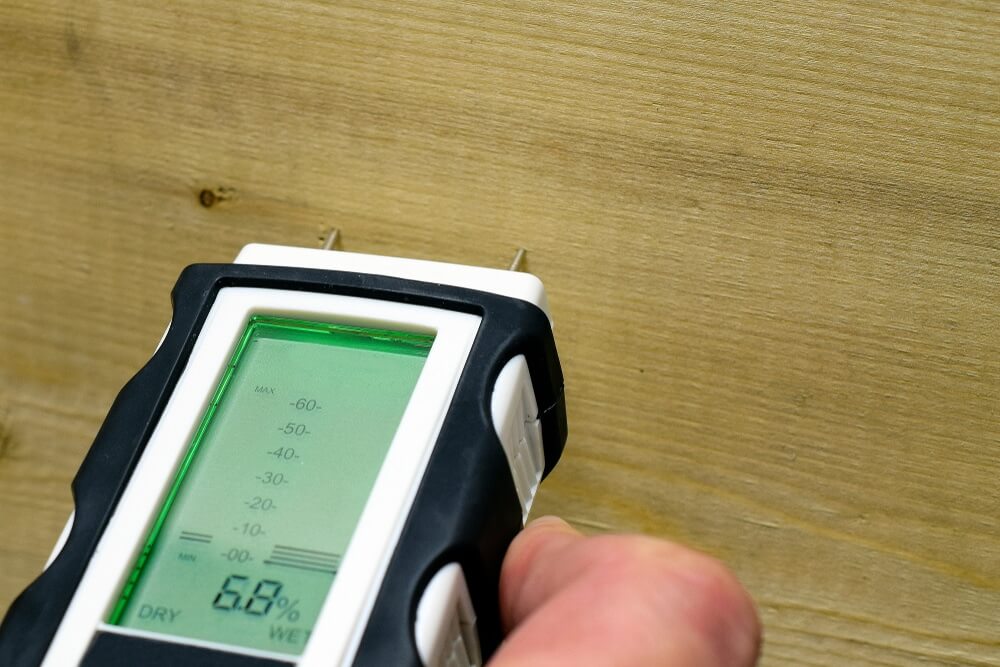
Pro move: Audit first. Moisture meter readings; a gentle tap test for hollow areas; small trial lifts to inspect subfloor condition. If there’s sound transmission or echo between floors, note that wood floor soundproofing or floor insulation fitting & sound proofing may be wise while you’re under the bonnet.
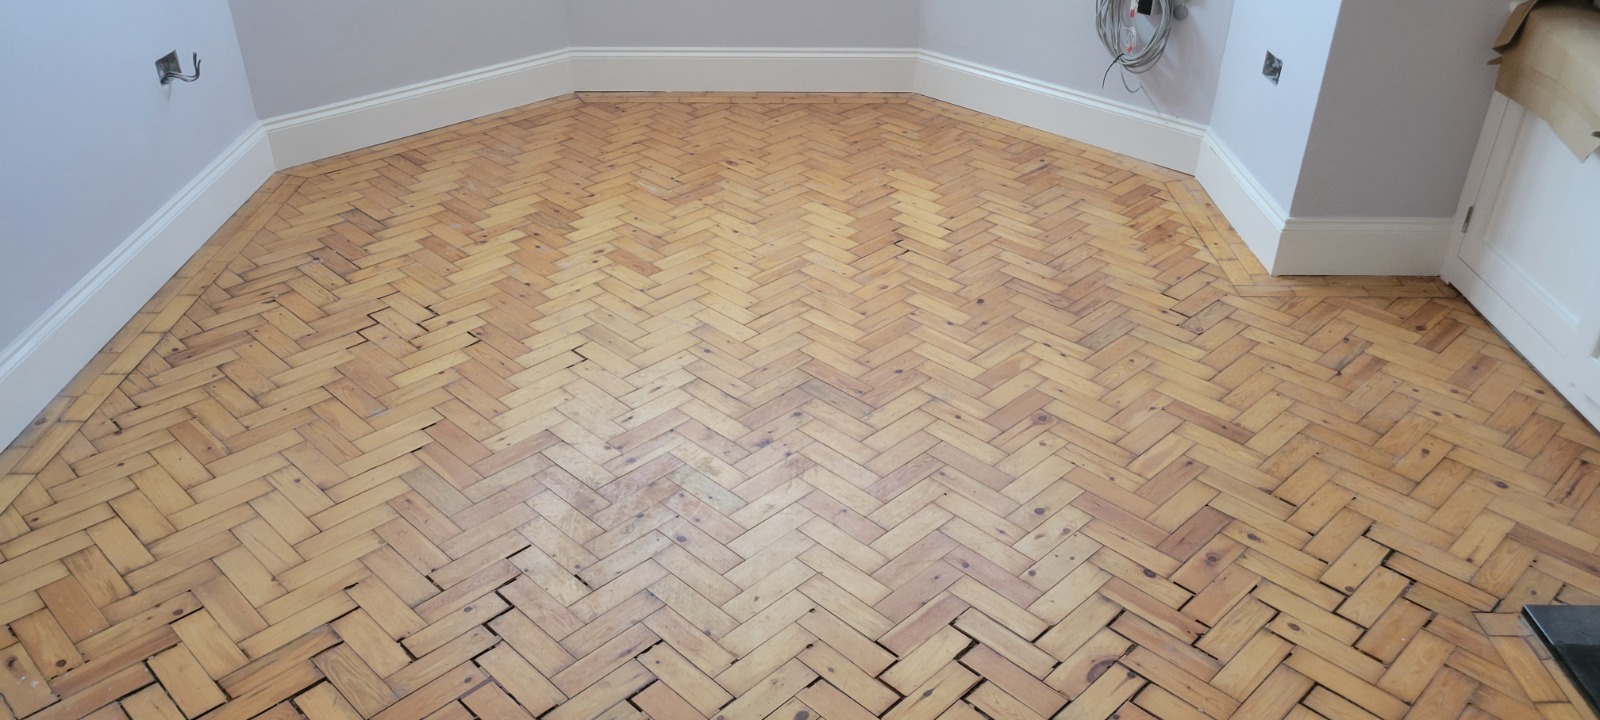
Sourcing Blocks to Match—Species, Size, and Patina
1) Species and grain
Most UK parquet is oak, but you meet walnut, beech, maple and the odd merbau. Get the species wrong and you’ll never colour-match convincingly. Grain tells tales: medullary rays in oak; beech’s blotchiness; maple’s tight, pale look. If your floor is maple, pairing repairs with maple wood sanding & finishing knowledge is crucial to avoid patchy stain uptake.
2) Dimensions and bevels
Measure length, width, thickness—and check for micro-bevels. Old blocks often vary by a whisker. That whisker matters.
3) Patina and provenance
Salvaged blocks from the same era behave like cousins; new blocks are well-behaved but can look “too perfect”. The pro approach? Select, lay, then colour-tune during finishing to harmonise new with old. It’s not cheating; it’s craft.
CTA: Need help sourcing exact-match blocks? Call 0800 955 0015 for advice that saves you buying twice.
Preparation: Subfloors, Adhesives, and Moisture
- Clean off bitumen thoroughly—mechanically, not with solvents that drive tar deeper.
- Prime dusty screeds and correct hollows.
- Use modern parquet adhesives suitable for wood movement and your subfloor type.
- Check moisture. If readings are high, address the cause first. Repairs that ignore moisture are like umbrellas with holes.
If the subfloor is lumpy or your pattern transitions to stairs or laminate in an adjoining room, coordinate with laminate flooring installation or on-stair works like stair stripping & sanding and stair & banister restoration so the whole route looks intentional.
Step-by-Step: Lifting, Cleaning, Rebonding, Replacing
Lift without bruising
Warmth softens old adhesives. Gentle heat and patient leverage lift blocks intact. Gouges now become dips later.
Clean backs and bed
Scrape back to sound wood. Vacuum subfloor; prime; trowel adhesive with the specified notch. Follow open time religiously—too wet and blocks swim, too dry and they never bond.
Re-lay to pattern
Start from a true line—often the longest sightline in the room or a string line snapped off a doorway. Keep the “soldier courses” perfectly straight. Tap blocks home with a beater block that shares the grain, not a hammer that bruises edges.
Replace missing or broken blocks
This is the tell of amateur work. The right block, in the right orientation, kissed in so tight it looks born there. If you must cut, cut the new block, never the old neighbours.
Good to know: Complex restorations often segue into floor restoration and gap filling and a room-wide wooden floor sanding & polishing pass for uniformity.

Gaps: When to Use Resin vs. Strips
- Resin fill (sawdust + clear binder) is superb for hairline gaps across a field after the first sanding cut. Quick, clean, and invisible when finished—perfect with dust-free floor sanding. See gap filling with resin.
- Wooden sliver strips are best for wider, structural gaps that open and close with the seasons. Glued wood moves like wood. See gap filling with strips.
Rule of thumb: If a pound coin could wobble in it, you want strips. If it vanishes down a credit-card slit, resin does the trick.
Colour Matching and Finishing Without “Patchwork”
This is where parquet goes from “patched” to “perfect.”
Sand with intent
Start with a sensible grit (not macho low) to preserve crown and avoid dishing. Parquet likes diagonal passes to keep the pattern honest, then straight with the grain for the finish. For consistency, many pros specify a room-wide hardwood floor sanding sequence even if repairs are local.
Tone to the room, not the sample
Your old oak has mellowed for decades. To match, consider tint-in-seal or toned coats rather than a heavy stain that kills chatoyance. If you must stain, test in a hidden area and judge dry under the room’s actual lighting.
Choose the right topcoat
- Want “heritage” glow? A quality hardwax oil or traditional wax over sealer from floor finishes & seals keeps grain chatty.
- Need resilience for kids/pets? A modern water-borne lacquer via varnish treatment gives tough protection without orange time-travel.
- For commercial areas, specify durability up front and consider commercial floor sanding systems.
Pro tip: Repairs are easiest to hide with a coherent finishing plan. That’s why wood floor sand & seal is often bundled with Parquet Repairs.

Borders, Thresholds and Hearths: Joinery That Sells the Illusion
Nothing betrays a repair like a clumsy threshold. Aim for a shadow-line or a clean border that frames the field. If you’re removing an old fireplace, stitch the void with reclaimed blocks and pattern-true infills, then finish as one. See hearth removal for the tidy approach. Where parquet meets stairs, integrate with stair stripping & sanding and banister restoration so the eye travels smoothly.
Sanding and Sealing—The Dust-Free Way
A proper repair deserves a proper finish. Dust-free floor sanding captures the mess before it settles—better for your lungs and your décor. For uniform sheen, finish the whole room. If you spot-finish only, consider feathering into existing coats and expect to tone carefully. Many clients choose wooden floor finishing options that match lifestyle: silk-matt for hush, gloss for drama, extra-matt for that “bare wood” look without the commitment.

Aftercare: Keeping Repairs Invisible for Years
You’ve hidden the work; now keep it hidden.
- Mats at doors, felt pads under chairs, lift—don’t drag.
- Dry-mop weekly; use the right cleaner (not the kitchen’s jack-of-all-trades) from your finisher’s system.
- Watch humidity: 40–60% keeps gaps seasonal, not scandalous.
- Plan a light maintenance buff and top-coat via wood floor maintenance & care every few years. Cheaper than waiting for a full resand.
If your home is busy or commercial, consider commercial wood floor care services. Schools and halls benefit from scheduled school floor maintenance to avoid term-time surprises.
DIY vs. Pro: The Honest Money Argument
Let’s talk like grown-ups. You can DIY. You can also cut your own hair. One of these is riskier when other people have to look at it daily.
DIY pitfalls we rescue weekly:
- Blocks glued to dusty screed: they lift within months.
- Over-sanding that dishes the pattern, making edges proud.
- Colour matching done wet under bright lights (dries darker, looks wrong).
- “Close enough” block sizes that force the pattern to wander.
When we price Parquet Repairs, we’re not charging for the time spent; we’re charging for the years of jobs we’ve done so you only do this once. And for preserving the value of flooring you already own—the poshest “free upgrade” you’ll ever get.
CTA: Get a cost-sensible plan that doesn’t gamble with your floor. Call 0800 955 0015 or book via Sanding Wood Floors.
The Clever Bundles That Make Sense
Most parquet projects end up being more than one thing. These bundles save time and produce one seamless result:
- Repair + Sand & Seal: Wood floor sand & seal unifies sheen and colour after repairs.
- Repair + Gap Management: Combine resin for fine lines with strips where wider movement occurs.
- Repair + Renovation: For older floors, go bigger with wood floor renovation and repair or full old parquet restoration.
- Repair + Finish Upgrade: Pick a durable, beautiful topcoat through floor finishes & seals or a robust varnish treatment.
- Repair + Dust-Free Sanding: Keep the mess out with dust-free floor sanding.
Real-World Scenarios (and the Pro Solutions)
Scenario 1: The “mystery patch”
There’s a 1960s repair in beech inside an oak room. The cure? Lift the oddballs, source oak siblings, relay to pattern, sand diagonally then straight, tone the new blocks slightly warmer, and seal satin-matt. Invisible. Gratifying.
Scenario 2: Loose blocks after a leak
The dishwasher wept, the parquet sulked. Dry the subfloor, check readings, scrape bitumen, re-bond with elastic adhesive, fill, sand, and finish. Add floor insulation & soundproofing if you’ve the chance and want a quieter life.
Scenario 3: Hearth removal and infill
The hearth goes; a rectangle remains. Stitch with reclaimed blocks set out from a snapped chalk line, keep bond true, feather tonal differences with a toned sealer, and never hard-line the finish at the infill. Seal the whole room.

FAQs
What does a typical Parquet Repairs project include?
Assessment, moisture checks, lifting and cleaning blocks, rebonding, replacing missing pieces, gap filling (resin or strips), then parquet floor sanding and a suitable finish.
Will my repairs be obvious?
They shouldn’t be. With correct species, dimensions, and a unified finishing plan, repairs blend in. That’s our standard, not a bonus.
Can you match my colour exactly?
Close enough that friends won’t notice. Wood is organic; nerves settle when the whole room is sanded and sealed with a coherent system, such as wood floor sand & seal.
Do you work in busy homes or commercial spaces?
Yes—using dust-free sanding gear and schedules tailored via commercial wood floor care services.
How long will it last?
With sensible maintenance & care and household humidity kept in the sweet spot, years. Many clients call us only for light refresh coats.
Why people really buy parquet repairs
People don’t buy Parquet Repairs because they love glue and sawdust. They buy the feeling of walking into a room and thinking, “This is right.” They buy compliments. They buy stories: “We kept the original floor.” They buy the quiet pride of rescuing something worth rescuing.
And here’s the nudge: for less than you’d spend tearing it all out and starting again, you keep what your house has that new builds can’t order from a catalogue—authenticity.
CTA (strong): Get the exact repair your floor deserves. Call 0800 955 0015 or book a survey at Sanding Wood Floors.
Get a Quote
Whether it’s two loose herringbone fingers by the door or a full old parquet restoration, we’ll give you a simple, sensible plan:
- A clear diagnosis (no mystique, just facts).
- Options: minimal repair, repair + finish, or full renovation.
- Transparent pricing that respects your home, your time, and your taste.
Next step?
Call 0800 955 0015 or visit Sanding Wood Floors to request your tailored Parquet Repairs quote today.
Useful Services (quick links)
- Wood floor sand & seal
- Wooden floor sanding & polishing
- Wood floor soundproofing
- Wooden floor finishing
- Wood floor renovation & repair
- Wood floor scratch repairs
- Wood floor repairs
- Wood floor maintenance & care
- Hardwood floor sanding
- Floor finishes & seals
- Floor insulation fitting & sound proofing
- Dust-free floor sanding
- Parquet floor sanding
- Commercial wood floor care services
- Commercial floor sanding
- School floor maintenance
- Maple wood sanding & finishing
- Laminate flooring installation
- Old parquet flooring restoration
- Floor restoration & gap filling
- Stair stripping & sanding
- Stair & banister restoration services
- Gap filling with strips
- Gap filling with resin
- Varnish treatment
- Hearth removal
Final word
If you want your parquet to look like it was never touched, the paradox is simple: let someone who loves old floors as much as you do touch it properly. That’s what professional Parquet Repairs are for—protecting the story your home already tells so beautifully.
Call now: 0800 955 0015
Explore: Sanding Wood Floors